0 comments

After playing around with Silverlight 2 beta some more, I have run into a few issues. A quick note about this post, I have been a WPF developer for a couple of years now so my issues may not really be issues, but rather differences between Silverlight and WPF that I find to be bothersome. I'm sure Microsoft will be working to fix some of these issues as they are minor, but there is 1 major issue that has been talked about in further detail, Silverlight's control templating model. Dr. WPF and Robby both have very good points about the templating model, but I must say my thoughts and concerns are with Dr. WPF. Please give us triggers ... property, data, event ... just give us our triggers back! Some other minor issues that I have encountered are posted below, let me know if you agree / disagree with these:

  • No x:Type allowed on dataTemplates which means no typed templates!
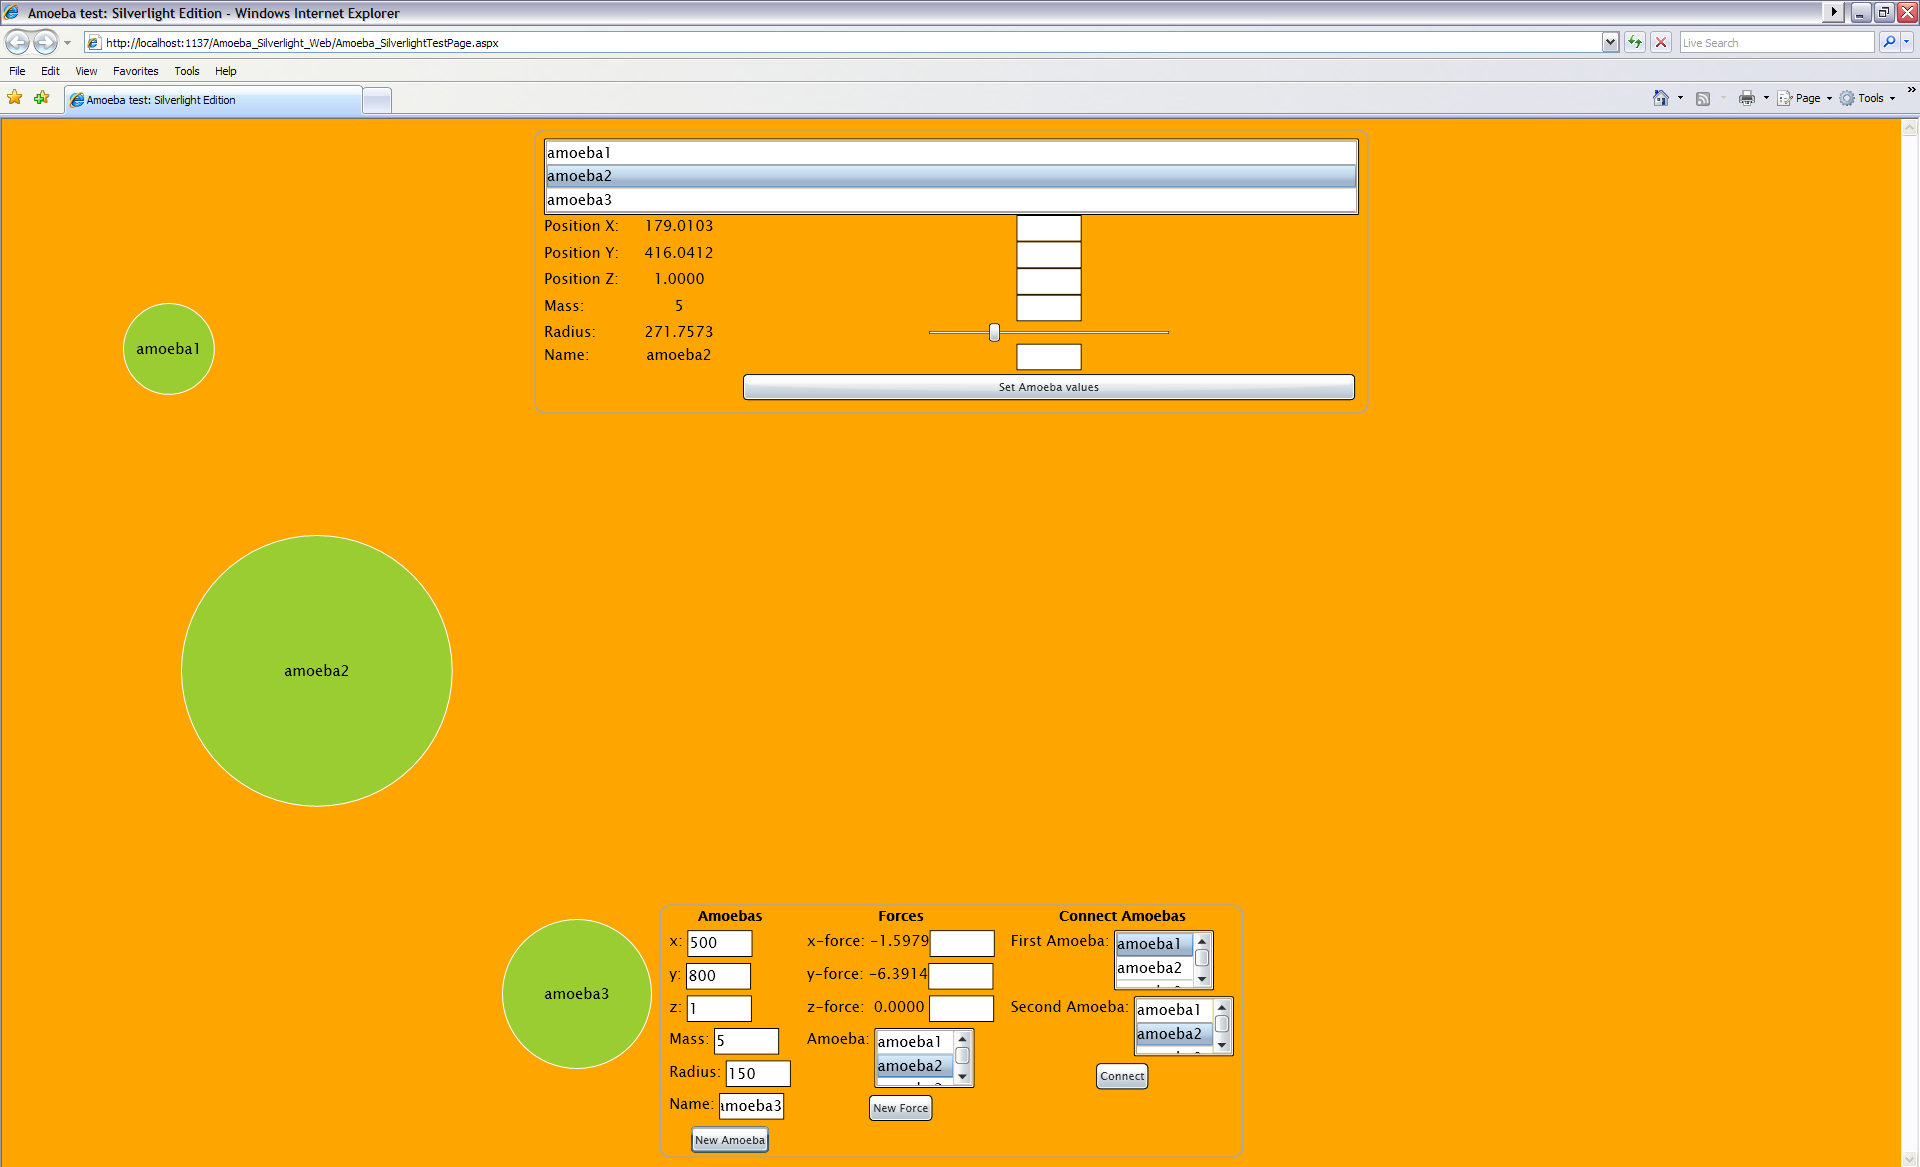
  • The user must specify 'Mode=TwoWay' in certain bindings such as the slider's value property
  • Setting the dataContext on a parent deos not allow its children to receive that dataContext
  • The user must set the dataContext everytime a selection is changed on an itemsControl so the GUI will update that change properly
  • XAML does not support certain bindings so I have to manually set those bindings up in code. Helpful hint on how to do this
  • No label, combobox, progress bar ... yet
  • No textbox.clear()
  • No colorConverter class to create a new color in code from a hex value
  • No DiscreteObjectKeyFrame animation so I cannot set Visibility of objects in XAML
  • No x:'Type' support in XAML
  • Buttons fill up their entire parent even if you specify VerticalAlignment and / or HorizontalAlignment
  • In fullscreen mode, the user cannot use the keyboard to enter any text ... I understand this is a potential security issue, but could we somehow have a workaround at least?

Overall, Silverlight 2 beta is a huge step in the right direction. There are so many great things going for it, but Microsoft needs to fix some of the small things to make Silverlight that much better!

One quick note, an easy way to update your GUI from a background worker is to pass your dispatcher (in this case I passed in dispatcherUIThread from my main window to my data class in its constructor) to the needed class so you can do something like this:

public event PropertyChangedEventHandler PropertyChanged;

private void NotifyPropertyChanged(String info)

{

    if (PropertyChanged != null)

    {

        if (!this.dispatcherUIThread.CheckAccess())

        {

            this.dispatcherUIThread.BeginInvoke(new NotifyPropertyChangedCallback(NotifyPropertyChanged), info);

            return;

        }

        PropertyChanged(this, new PropertyChangedEventArgs(info));

    }

}


If you rely on intellisense, and we all do, you will be sad that Dispatcher.CheckAccess() does not show up. This is also the case for WPF, but believe me that the code will compile and work. Maybe Microsoft should add intellisense support for it?

That's all I have for now. Currently I am working on a mini game that I almost have phase 1 complete. I will post more soon, but it's starting to get very nice outside and that means time for some fun in the sun!
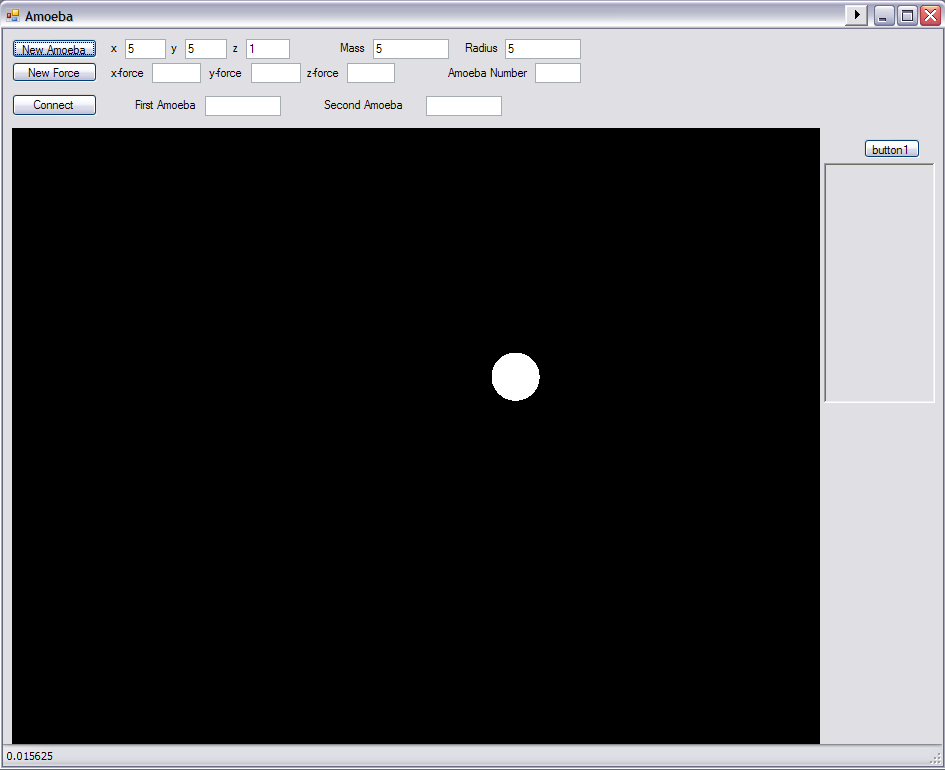
0 comments

While things were slowing down at work, MIX 08 was starting up. I wish I could have attended but unfortunately my job takes precedence. I've been reading blog posts about MIX 08 and it sounds like it was a great time for Silverlight 2! The more I read about Silverlight 2  the more it sounded like Microsoft has finally got the ball on the road. This project (the amoeba project) was originally designed to be a Silverlight app. After digging into Silverlight 1.1, the feature set was not there yet to support our overall idea. So we took our project away from the Silverlight arena and made a small test app in DirectX.

Amoeba_DirectX9_Thumb

This was mainly to get our data layer in place and see how our objects would interact in certain scenarios. We mainly got the basics of our physics engine in place.

Amoeba_WPF_Thumb

Then we ported that app over to WPF when the news about Silverlight 2 and all of its feature set was going to be released soon.


With work and the release of Silverlight 2 over the last month we have been pretty busy. But once Silverlight 2 was released I started to port over our WPF version to a Silverlight one. Now, this is my first actual Silverlight app that I am putting up on the web. Please let me know if there are any issues, difficulties or comments that you have.


As you can tell from the pictures, each one is relatively the same as far as the controls go. All of the apps give the user the ability to: create an amoeba, apply a force to an amoeba, and connect 2 amoebas together to see what will happen. These basic apps allowed us to visualize what our data was doing with our amoeba objects. We also gave the user the ability to override the data in the background by explicitly setting the amoebas position, mass, radius or force values at any point. This allows us to see what happens when amoebas suddenly change for one reason or another.

 Amoeba_Silverlight2_Thumb

Our next step is to build an environment that will start to influence these amoebas and allow them to change over time. In the meantime we will continue to monitor our data and how the amoebas interact with that data at certain times. And we will start to connect multiple amoeba objects together to form an actual, physical structure of some sort and see how that thing interacts with other amoebas. We will also try to incorporate some elemental values into our amoeba structures so that those values can too influence our amoebas!


Brief overview of the Silverlight demo:

The demo is currently at the bottom of the post and allows the user to create new amoebas, apply forces on those amoebas and connect amoebas together. The user will visualize what our data is doing in the background be viewing the green amoeba objects on the screen move around. The text in the center of the amoeba is the amoebas name and is there for the user to easily see what amoeba is what.

The bottom left column allows the user to create a new amoeba by specifying where / how the amoeba should appear / look. The upper left of the application is the (0,0) point for the x and y axis. The z axis, as of now, controls the z-order of the amoebas. An amoeba with a larger z axis number will appear on top of another amoeba that has a lower z axis number. The mass controls the actual mass of the amoeba that plays a part with that amoebas forces. The radius specifies how large the amoeba shall appear.

The bottom middle column lets the user add (or subtract) forces on a specified amoeba that the user can select from the listbox on the bottom. Once an amoeba is created all the listboxes will be updated with the names of the amoebas in the collection. When an amoeba is selected in the forces listbox, numbers will be displayed to the left of the textboxes that display the actual forces that are applied on that amoeba.

The bottom right column allows the user to connect one amoeba to another. When 2 amoebas are connected, they will start to attract one another and move towards each other. Due to a small math 'bug', when the amoebas get very close and their centers almost touch both amoebas will shoot off from each other. We are still weighing our options on what should actually happen when this occurs, what do you think?

The top controls allow the user to select an amoeba that has been created and edit its values in real time. When the user clicks on the 'Set Amoeba values' button, the values specified by the user will take place. When the user drags the slider from side to side the radius will automatically change the size of the amoeba.

Try to add many amoebas with different forces and then connect them together to create some real mayhem! Please share what you do and how the amoebas act. We would really like some feedback on different users and what their operating system and browser is that you used. Also, if our application seems slow at all please let us know how many amoebas you have and what you have done to them.

4 comments

A quick update on this blog, I will be traveling for my job in the coming week for a few weeks and will most likely not have time to post anything. I will try to keep this blog updated as best I can in the next few weeks, but no promises. Once I get back I will continue on with my postings. Now on with this post ...

In many WPF applications one will come across animations in some sort of fashion. This post is geared towards moving an object on the screen; particularly moving it along the x-axis. I will cover 2 ways of achieving this and both are very rudimentary. The first, setting the Canvas.SetLeft attached property and the second sets the TranslateTransform.X property.

PerformanceTest_App_SimpleObj

The application that I wrote compares 2 different objects being moved by the 2 above mentioned properties. The first object is a simple Rectangle from the System.Windows.Shapes namespace. The other object is just a Button from the System.Windows.Controls namespace. The button is our semi-complex object for 2 main reasons. One, it derives from UIElement and the other is that our button has its template overridden to provide a better looking button. Besides the properties that we are comparing under this performance test (Canvas.SetLeft and TranslateTransform.X), the rectangle has a couple of properties set on it; Canvas.SetTop, width, height and fill. The Button also has some properties set on it; Canvas.SetTop, width, height and style.

PerformanceApp_App_SemiComplexObj

The performance tool that I have used is called WPFPerf which comes with the Windows SDK, but you can download this tool and the whole WPF performance suite here: http://wpf.netfx3.com/files/folders/developer/entry10880.aspx The only real measurement that I was looking for was the frame rate. The higher the number of frames the smoother the animation.

Below are what my 2 objects look like and their performance tables as well. The tables display the number of objects that were created, the frame rate for setting the Canvas.SetLeft property and the frame rate for setting the TranslateTransform.X property. The program simply loops a number of times to create a different number of objects (as stated in the tables below). A DispatcherTimer is used to increment the objects' Canvas.SetLeft / TranslateTransform.X property. This provides our relative smooth animation for the object. One point of note here, I increment the Canvas.SetTop property by only 1 each time (even though the height of my objects are 25 so overlapping occurs). This is to force WPF to draw all of the objects that are on the screen since my resolution is 1920x1200; 1000 objects shifted by 1 will allow me to see all of them.

simpleObjSimple object (System.Windows.Shapes), Rectangle:

# of Rectangle Objects

Canvas.SetLeft

Frame Rate

TranslateTransform.X

Frame Rate

1000

64

63

2000

55

51

3000

38

25

5000

25

24

10000

13

11


semiComplexObj 
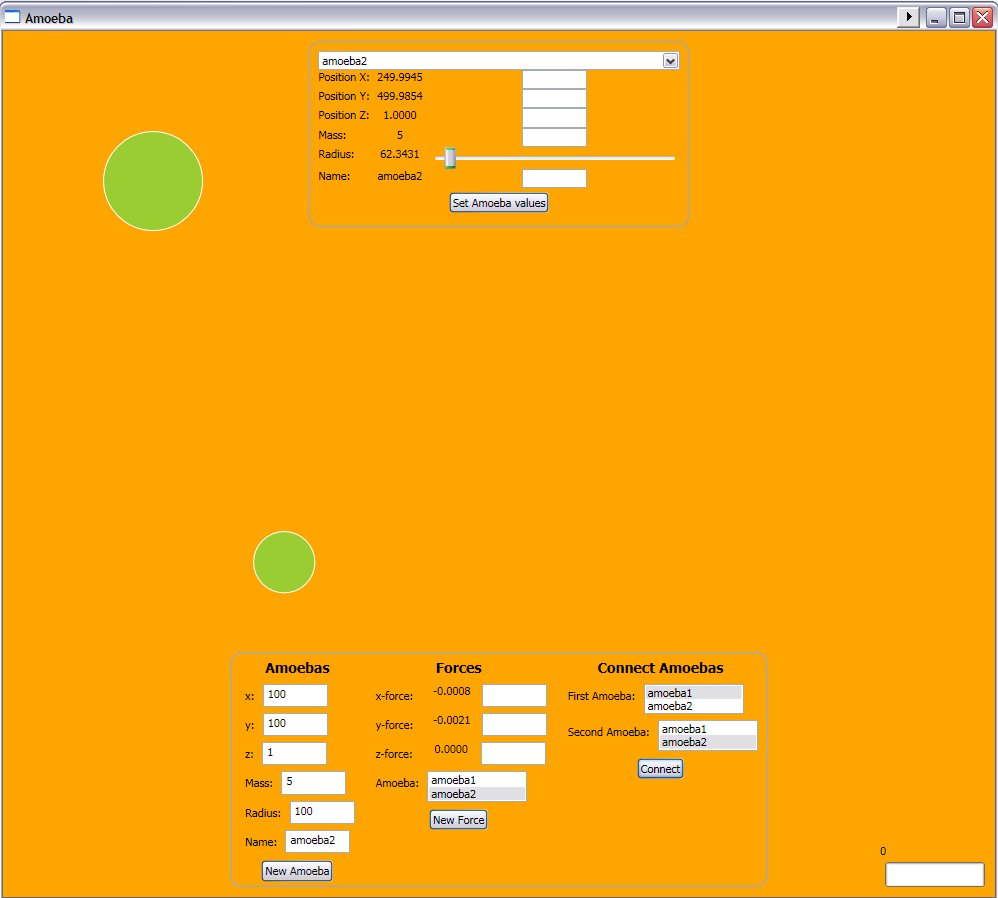
Semi-complex object (System.Windows.Controls), Button:

# of Button Objects

Canvas.SetLeft

Frame Rate

TranslateTransform.X

Frame Rate

10

63

62

25

54

53

50

27

26

100

13

13

1000

1

1


As you can see from the 2 tables, the clear winner is moving a simple object around. I won't go into the details on why this is, but the majority of it has to do with the Button deriving from UIElement. There is a lot of overhead that the object automatically receives which one may or may not want.  But the real focus of this test was to compare the Canvas.SetLeft property vs. the TranslateTransform.X property. Starting with the simple object, the 2 properties start to diverge around 3000 objects. With the semi-complex object the 2 properties really never differ. This is good news, all though this test may not be the best one for all applications, it certainly suites mine! And yes, the duck graphic is form duck hunt (that I have vectorized) and if you have been following along with my other posts you surely can put 2 and 2 together to see where this is going, hopefully soon.

In conclusion, Canvas.SetLeft vs. TranslateTransform.X properties perform very similar and is personal preference for choosing. Of course, if your application is using an absolute positioning system the Canvas.SetLeft property will be more suitable for you.


filefile size
PerformanceTest SetLeft vs Transform.zip8.83 KB

0 comments

ok, so you don't need any WPF at all to actually control you computer using a wiimote, but everyone loves the simplicity of making and controlling a gui with WPF that we should use it anyway's! Plus, WPF is just cool. Anyway, using Brian Peek's Managed Library for the Wiimote (I used version 1.2.0.0) you can receive data from the wiimote about its IR coordinates (up to all 4 IR sensors now!) and all of its button states. Since we can receive the wiimotes IR coordinates, we can tell our application to point the mouse cursor to those coordinates. It's that easy!

WiimoteMouseControlWPF_App 

But of course things are not always that easy all the time. With WPF and its new System.Windows.Input namespace, Microsoft introduces a new way to control input devices such as the mouse. I did some basic research (and maybe not enough) and found out that there is no easy way to tell the mouse cursor where to point to in WPF. With winforms you could say:

Cursor.Position = new Point(50, 50);

and that would set the cursor to a point at 50 pixels from the left and 50 pixels from the top, with 0,0 being at the upper-left of the screen. So after finding no easy way to do this in WPF I decided to use this winforms method instead. I used the midpoint of 2 IR sensors (version 1.2.0.0 only received data from 2 IR sensors) and set the position of the cursor to that point. This allows me to move my wiimote and the cursor moves as well!

I then added some simple functionality to mimic a mouse using the wiimote. This was much more difficult than I had anticipated; I had to use some Win32 api calls. I mainly used SendInput() that allowed me to send mouse events to the computer. The different mouse events that I used were:

  • Left button down
  • Left button up
  • Right button down
  • Right button up

These events allowed me to simulate a click event for the left click and for the right click. However, there is a small bug. When clicking (left or right click) on a menu and then moving the mouse over a submenu item seems to actually select the that item. If I get that interested in this bug I will try to fix it, however there are other projects that I would like to start up. Also of note, I found these Win32 api calls from a forum. The wiimote buttons that map to the mouse are as follows:

  • Home -> closes the application
  • A button (down) -> Left button down
  • A button (up) -> Left button up
  • A button twice consecutive -> Left button double click
  • B -> Left button click
  • Plus -> Right button click

Upon receiving updated data from the wiimote I use simple setters to set my boolean properties that in turn cause the cursor to update its position or send a Win32 call for a mouse event. There could have been better approaches (data binding?) than this implementation, but this was the simplest way for me to code; yes I was a bit lazy this time ;)

WiimoteMouseControlWPF_TrayIcon

One other thing I have added to this application is that when you minimize it, it goes into the taskbar as an icon. This way you can run the application and minimize it out of the way while you control you computer! Enjoy this application and let me know what other buttons / controls you would like me to add. If I get some responses I will look into adding those features.

filefile size
WiimoteMouseControl Source.zip21.61 KB
WiimoteMouseControl App.zip17.35 KB

2 comments

I'm sure almost everyone knows about the Nintendo wii. It uses a different type of controller that is a real ingenious piece of equipment. The controller is the wiimote that has some awesome sensors in it. Much more detailed information can be found at the WiiLi Wiki. There are links that describe what type of sensors the wiimote has and how it works. There are also links that describe the data the the wiimote passes to the wii.

Now that's one cool input device if you ask me, but what does this wiimote do for us? Well, since it is a bluetooth device you can connect this guy to you computer pretty easily; all you need is a bluetooth adapter or built in bluetooth on your computer. Once connected you can use some programming language to interrupt the data that the wiimote sends to the computer. Brian Peek has written a nifty managed library for the wiimote that I have used (at the time of writing this I am using version 1.2.0.0). He also lists other projects that are using his library; some really cool ones at that. And of course, the guy who has started this phenomenon is Johnny Chung! Thanks to everyone for putting together their projects so I could learn and finally create one of my own ... and yes, there will be more to come.

WiimoteWPF_ScreenShot_Thumb

So for this first part in my wiimote application, I have built a wiimote status app using wpf. My application lets the user connect to the wiimote and it displays a lot of data that the wiimote is telling the computer; mainly its IR coordinates, accelerometer data, button states and extension status. You can also use my application to toggle the LED's and the rumble feature on the wiimote. To get valid IR coordinates (and some round circles to move on the application) you need to point the wiimote at some IR light source. Incandescent light bulbs will work as well, or even the actual wiimote sensor bar! Speaking of the sensor bar, I built my own version using some IR LED's similar to this one. However, there were some difficulties in putting the final product into the casing I had and in the end I broke an LED, so my homemade sensor bar is sitting in a bad currently.

Hopefully you will enjoy this project and all that it has to offer. It really was a good introductory to learning how to use the managed library and to better understand the wiimote. I know there has been talk about tracking multiple points using the wiimote and Matthias Shapiro is currently looking into this using wpf as well. Check out his wii data visualizer, he has some great ideas on how to show some of the wii data!

There seems to be plenty of people out there that are starting to use the wiimote as a great input device. If you have any questions or thoughts about what projects I should try to accomplish, let me know. And let me know what you think about my application as well!

filefile size
WiimoteWPF Source.zip110.1 KB